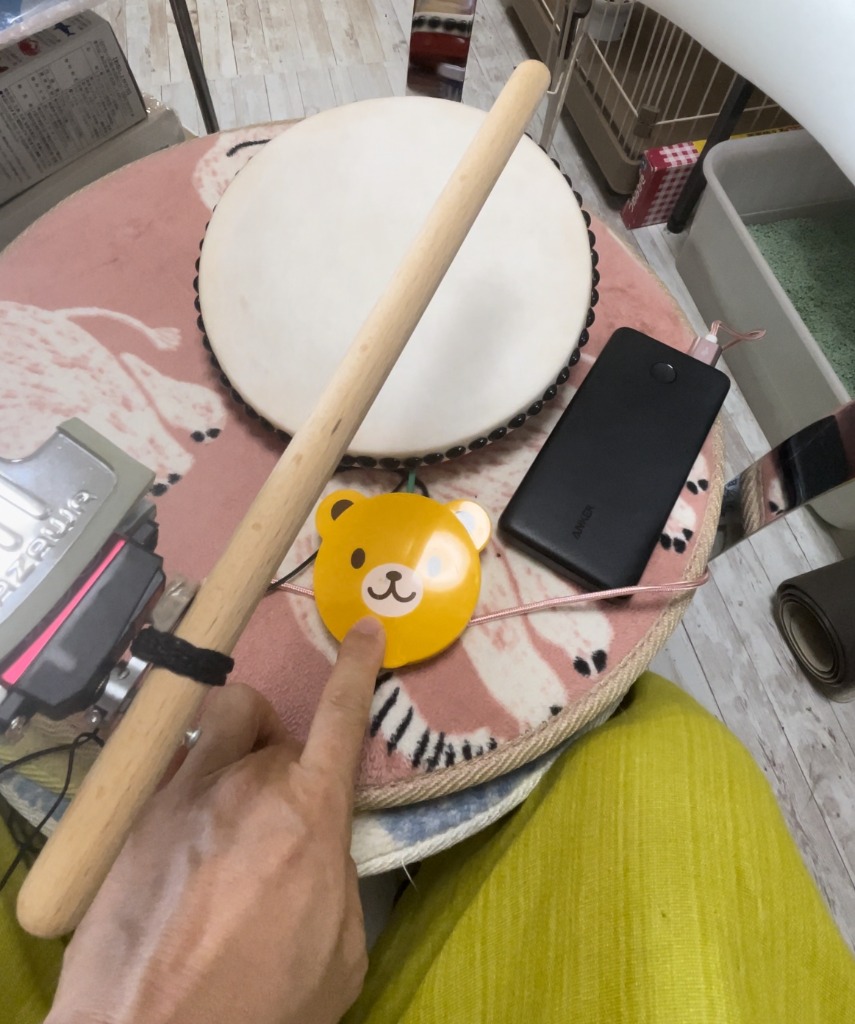
とんとこ 太鼓叩きユニット
完成
© CC BY 4+
253
文化祭の時、学校ではみんなが楽器を演奏しますね。
障がいのある友だちも一緒に演奏できたらいいな。
でも、先生がずっと手伝うのはちょっと。
スイッチを使って、簡単に演奏できないかな?

- 動画
-
- 開発素材
- システム構成
-

- ストーリー
-
- メンバー
-
-

- 杉本義己 @naranavi
-
-
- 同じニオイがする作品
-
-
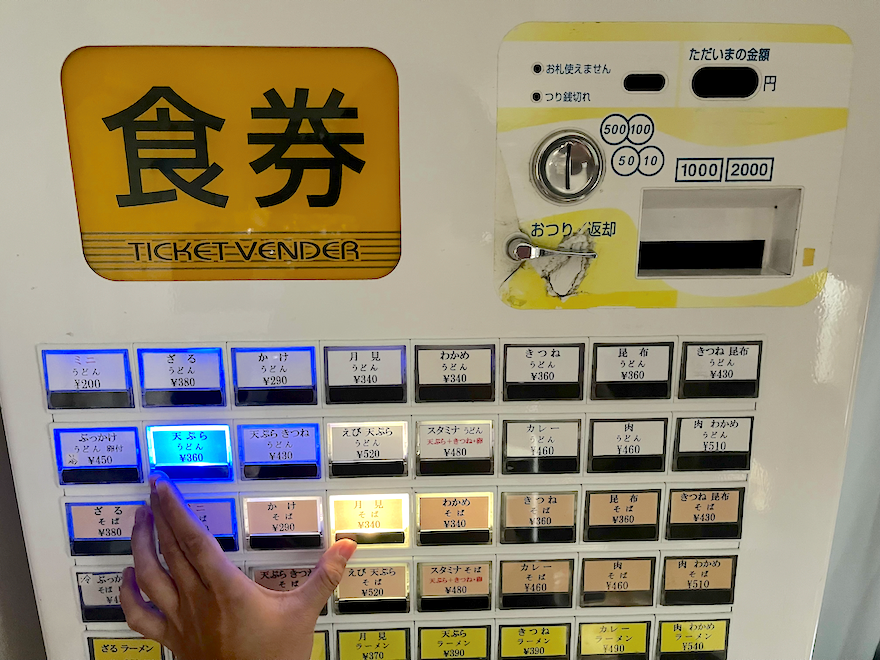 食券機型電子楽器 "ShockAndKeys"
-
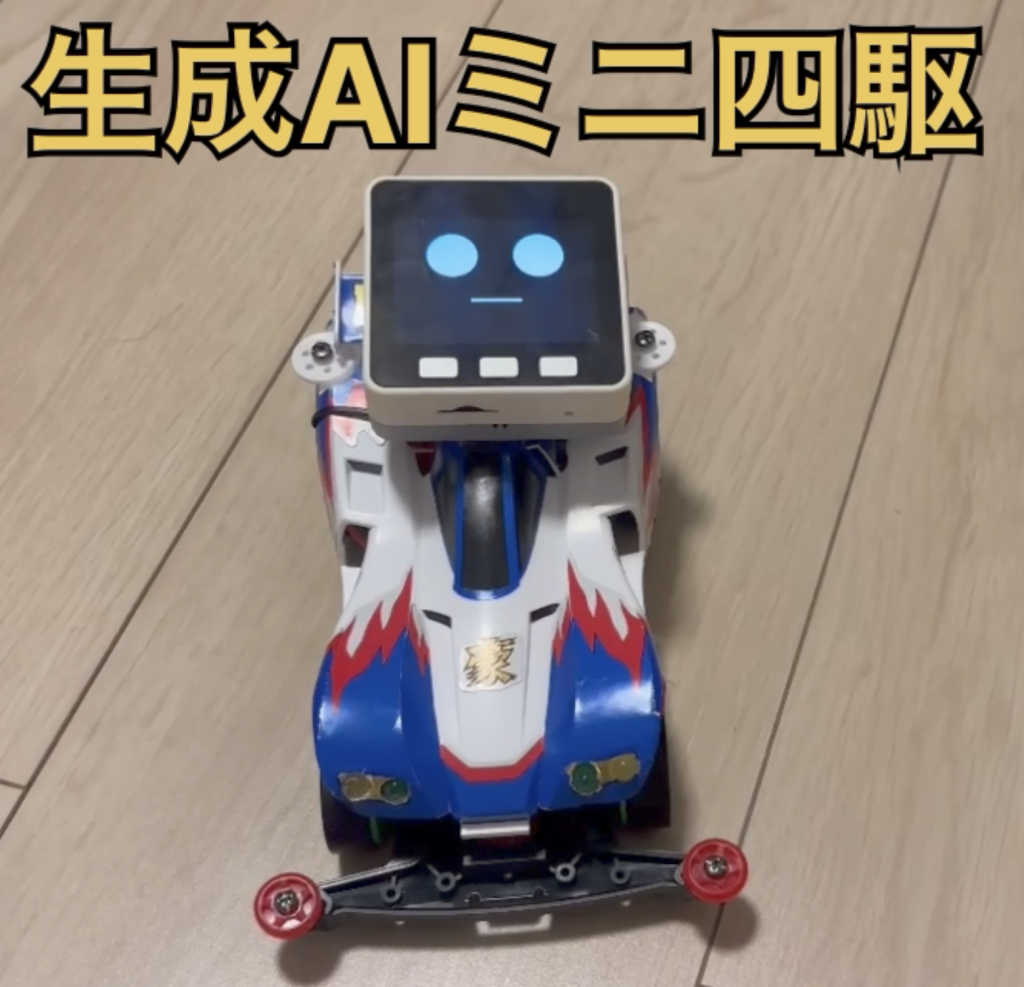 生成AIミニ四駆
-
 陣痛共有デバイス「Happy Pain」
-
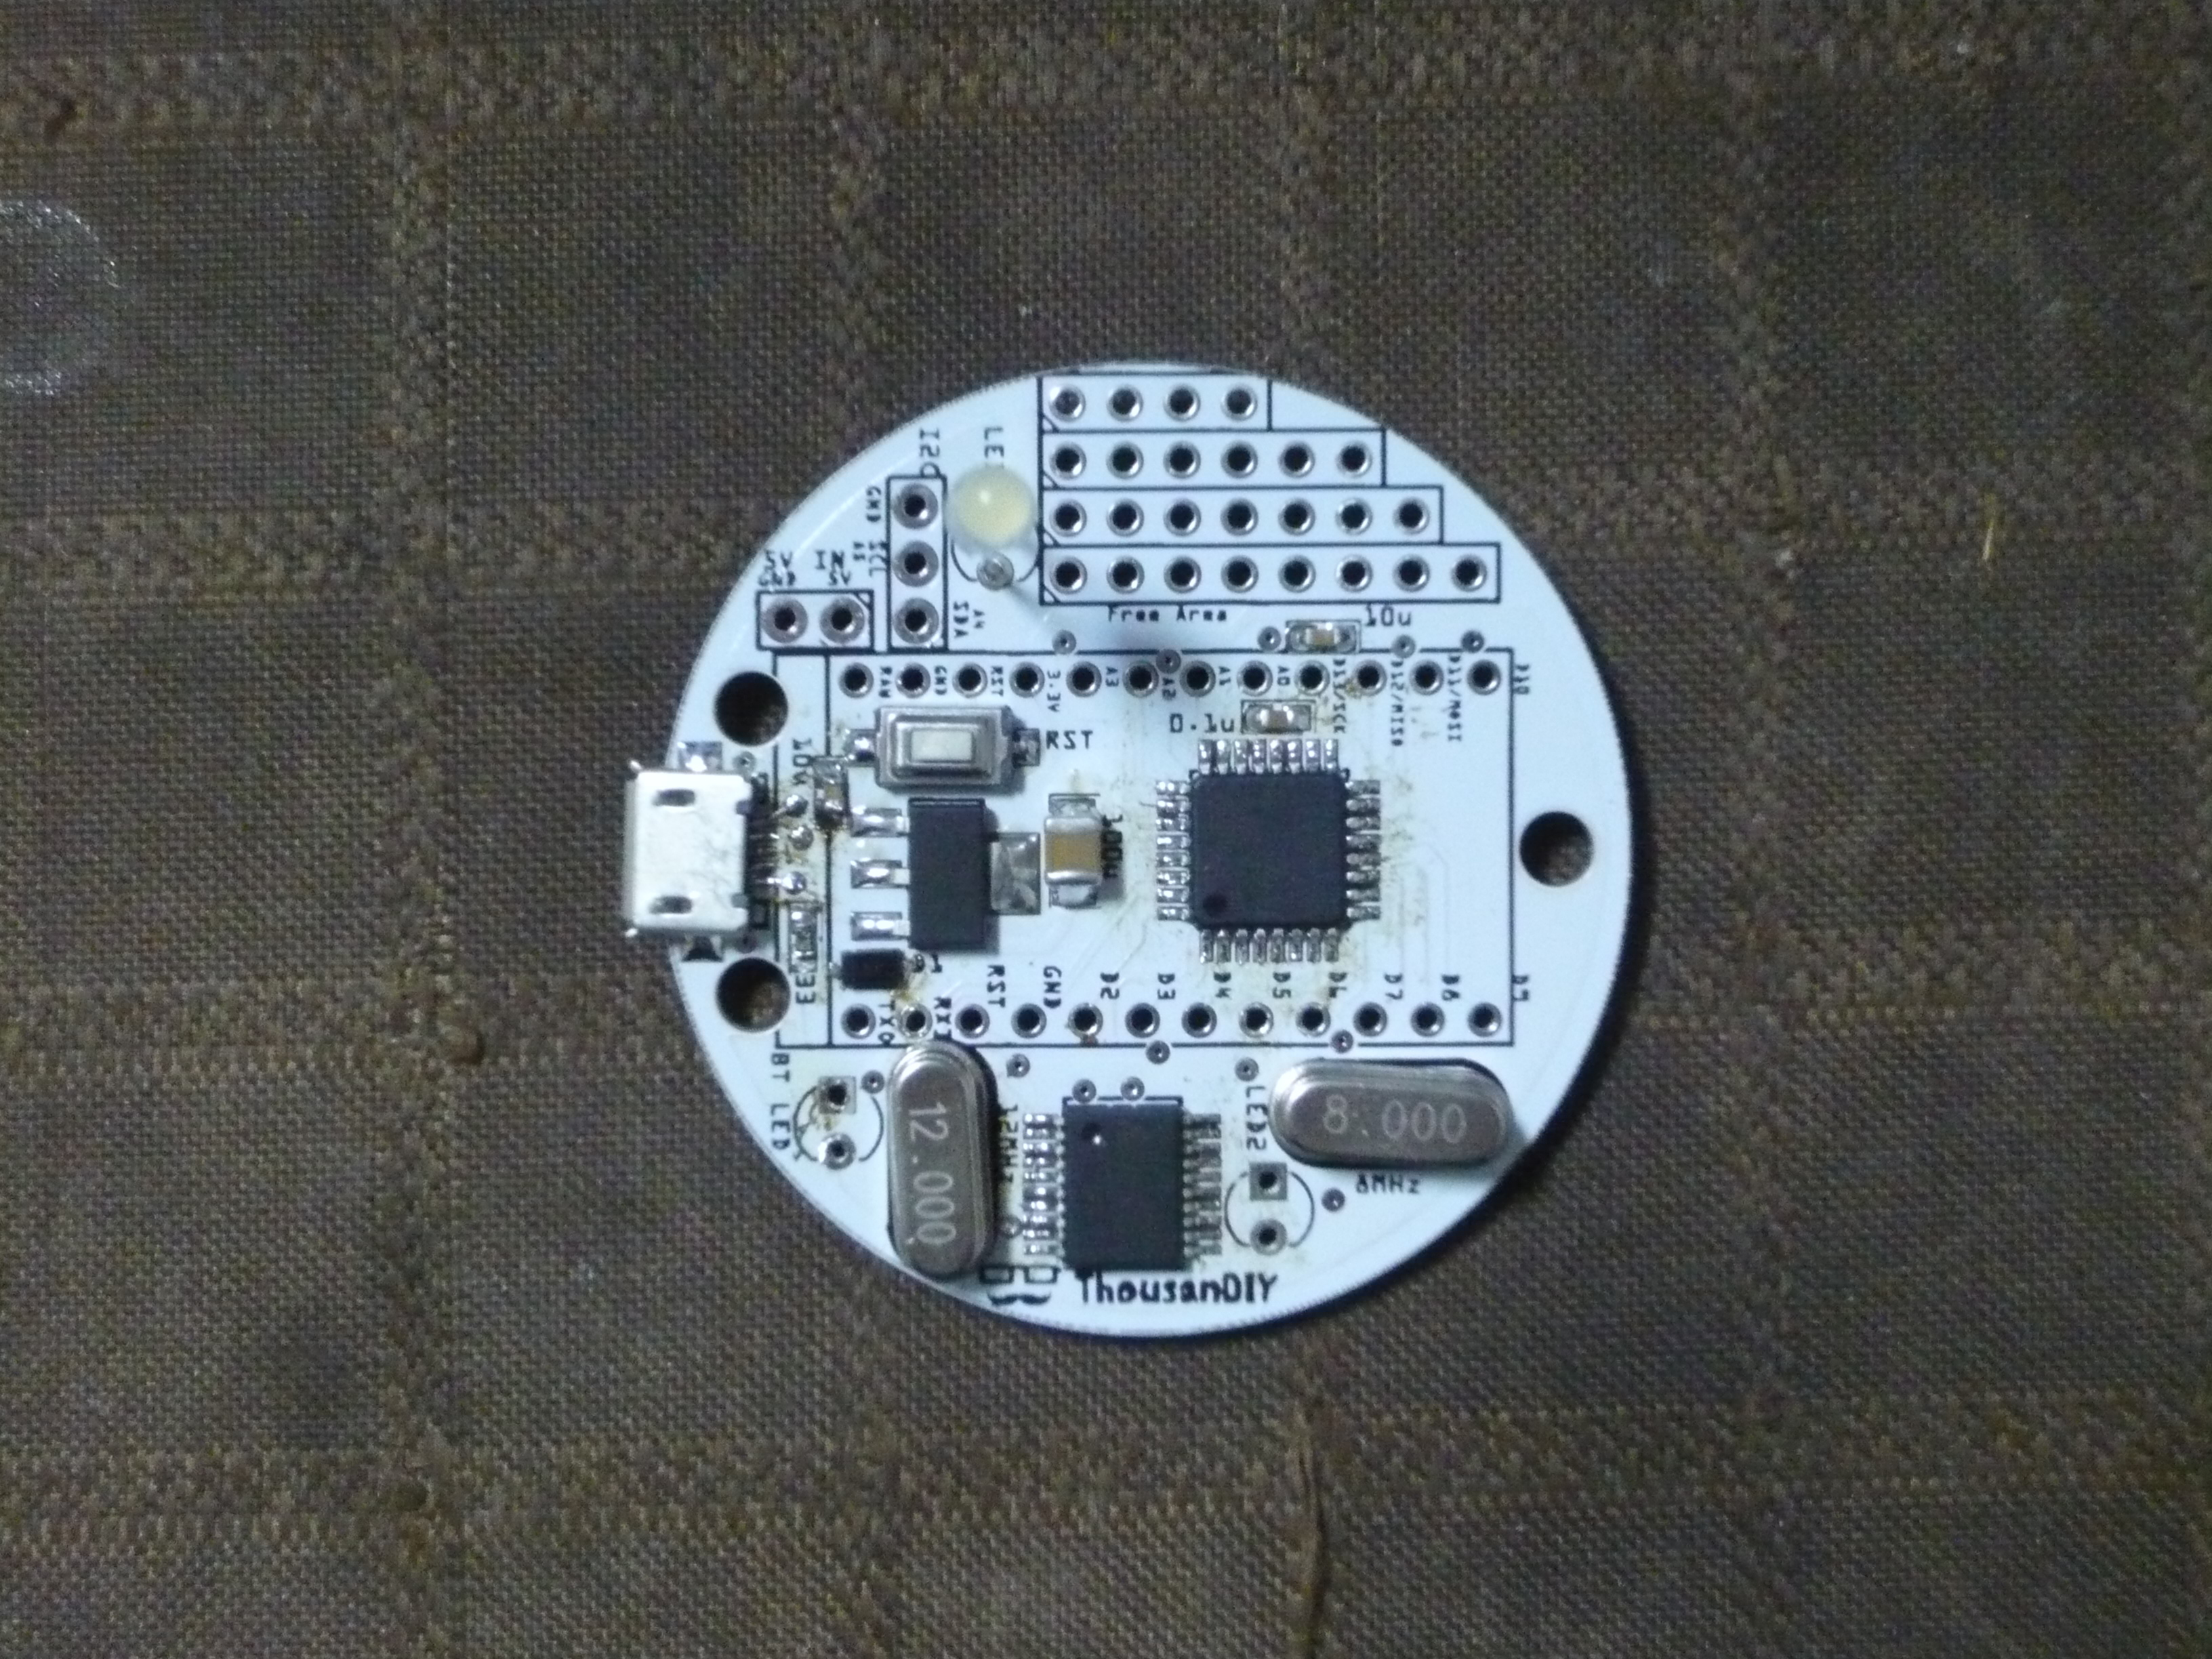 丸いArduino互換機「Maruino」
-


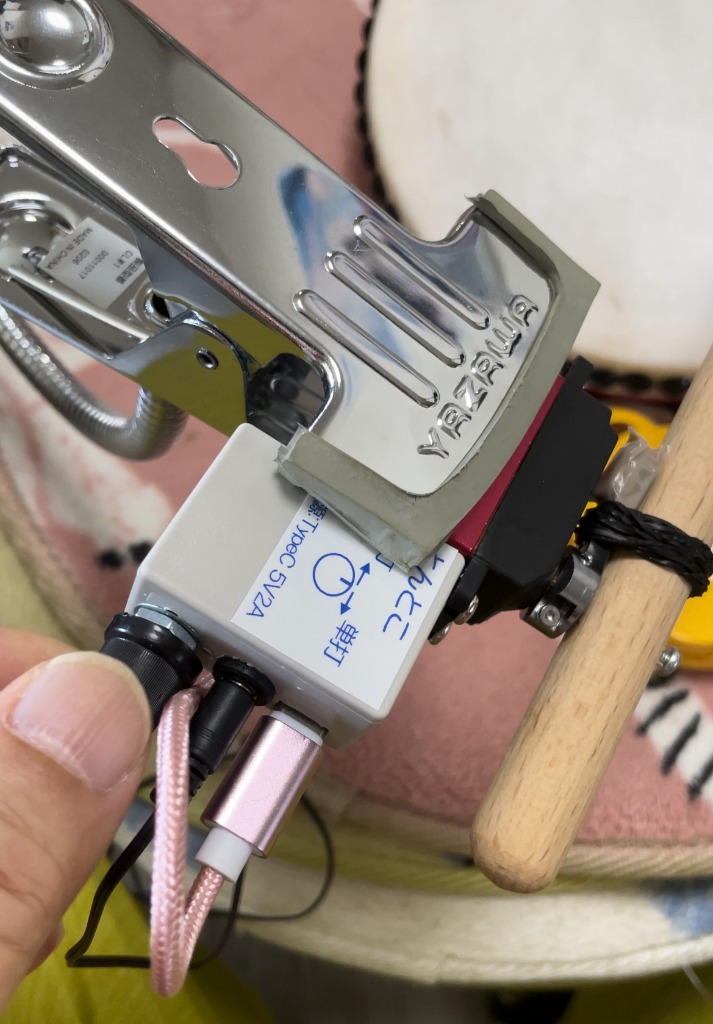
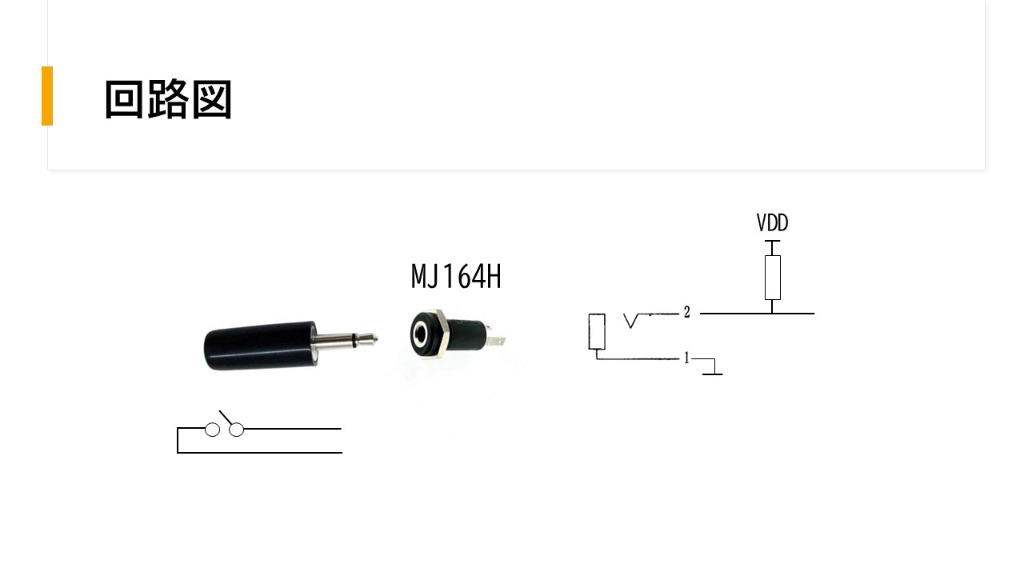
よく構成図がわからないのですが配線図のわかりやすい図はありませんか?部品は買ったのですが?接続部がよくわからないので教えてください。よろしくお願いします